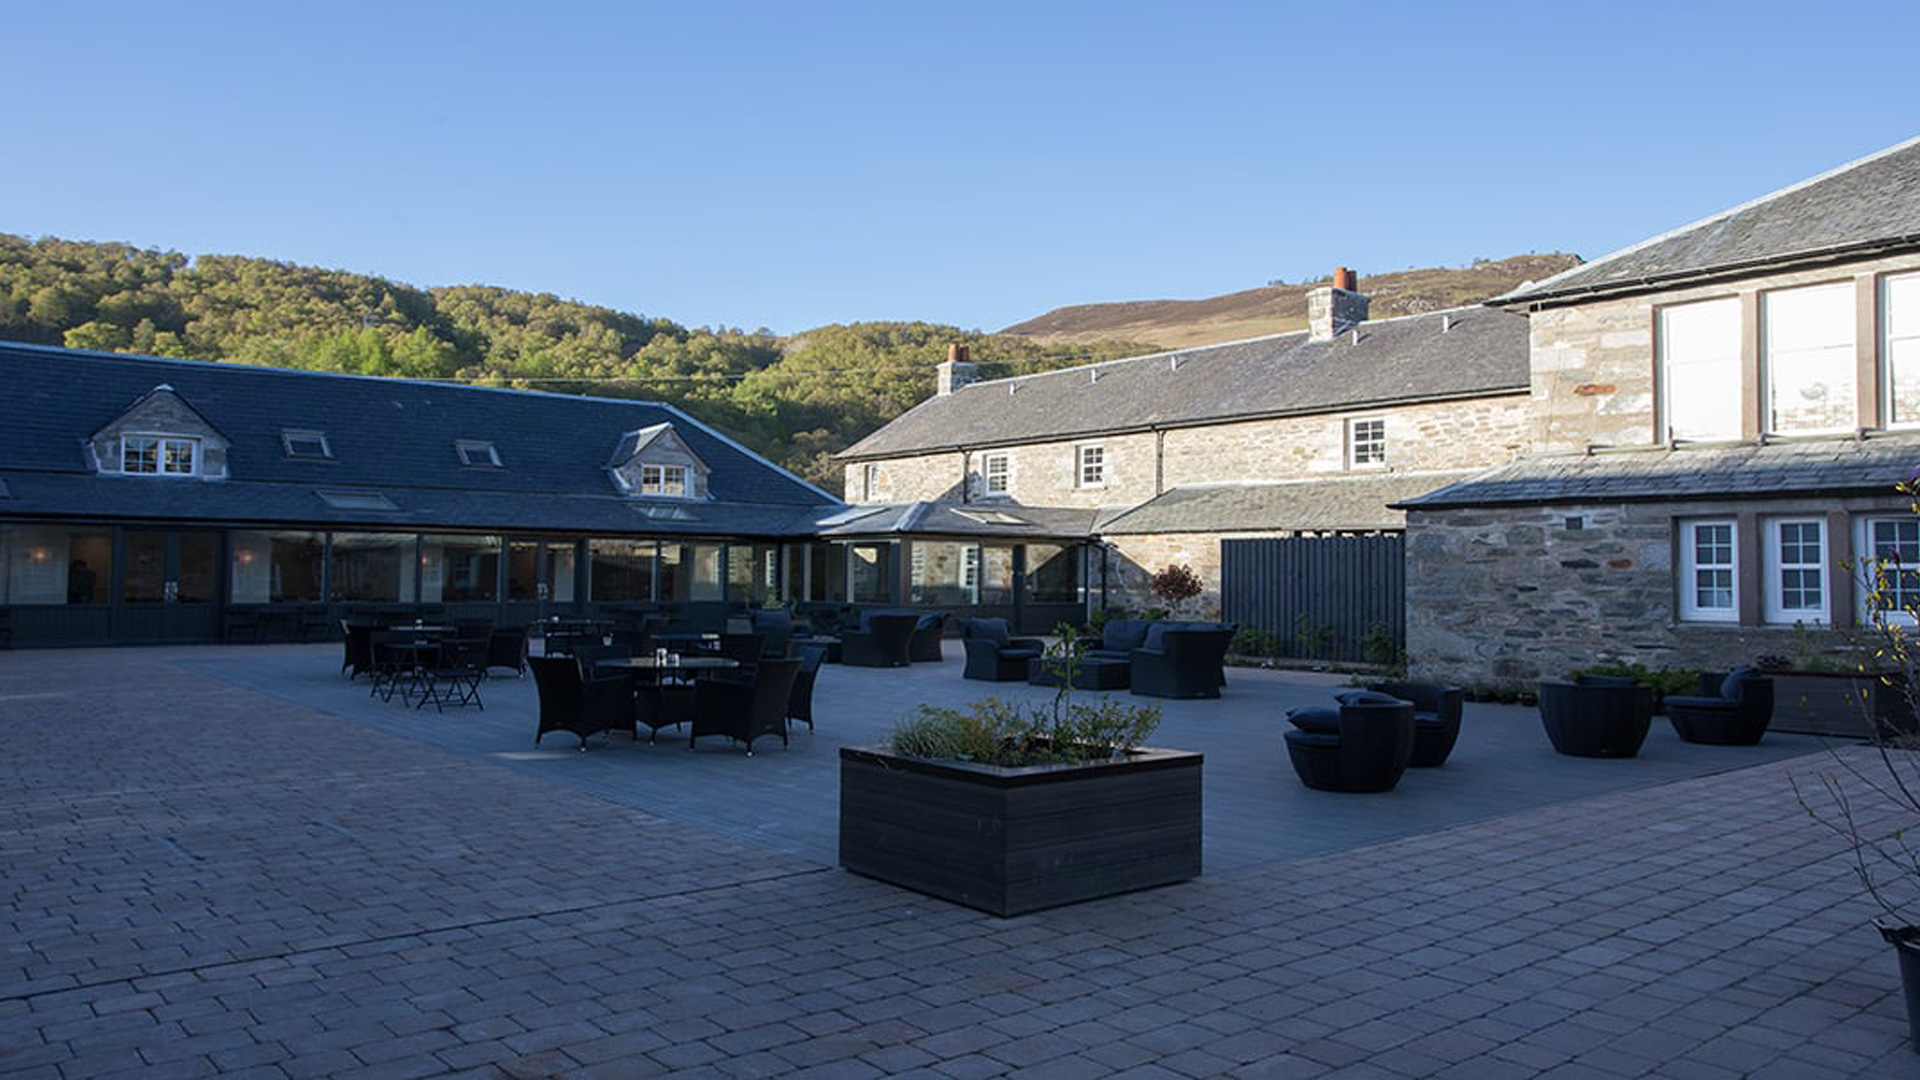
When planning outdoor home enhancements, traditional timber decking is often the go-to option. However, many homeowners are now turning to sleek, modern alternatives such as rectified paving tiles. These precision-cut tiles are engineered to deliver a flawless finish while offering durability, versatility, and low maintenance.
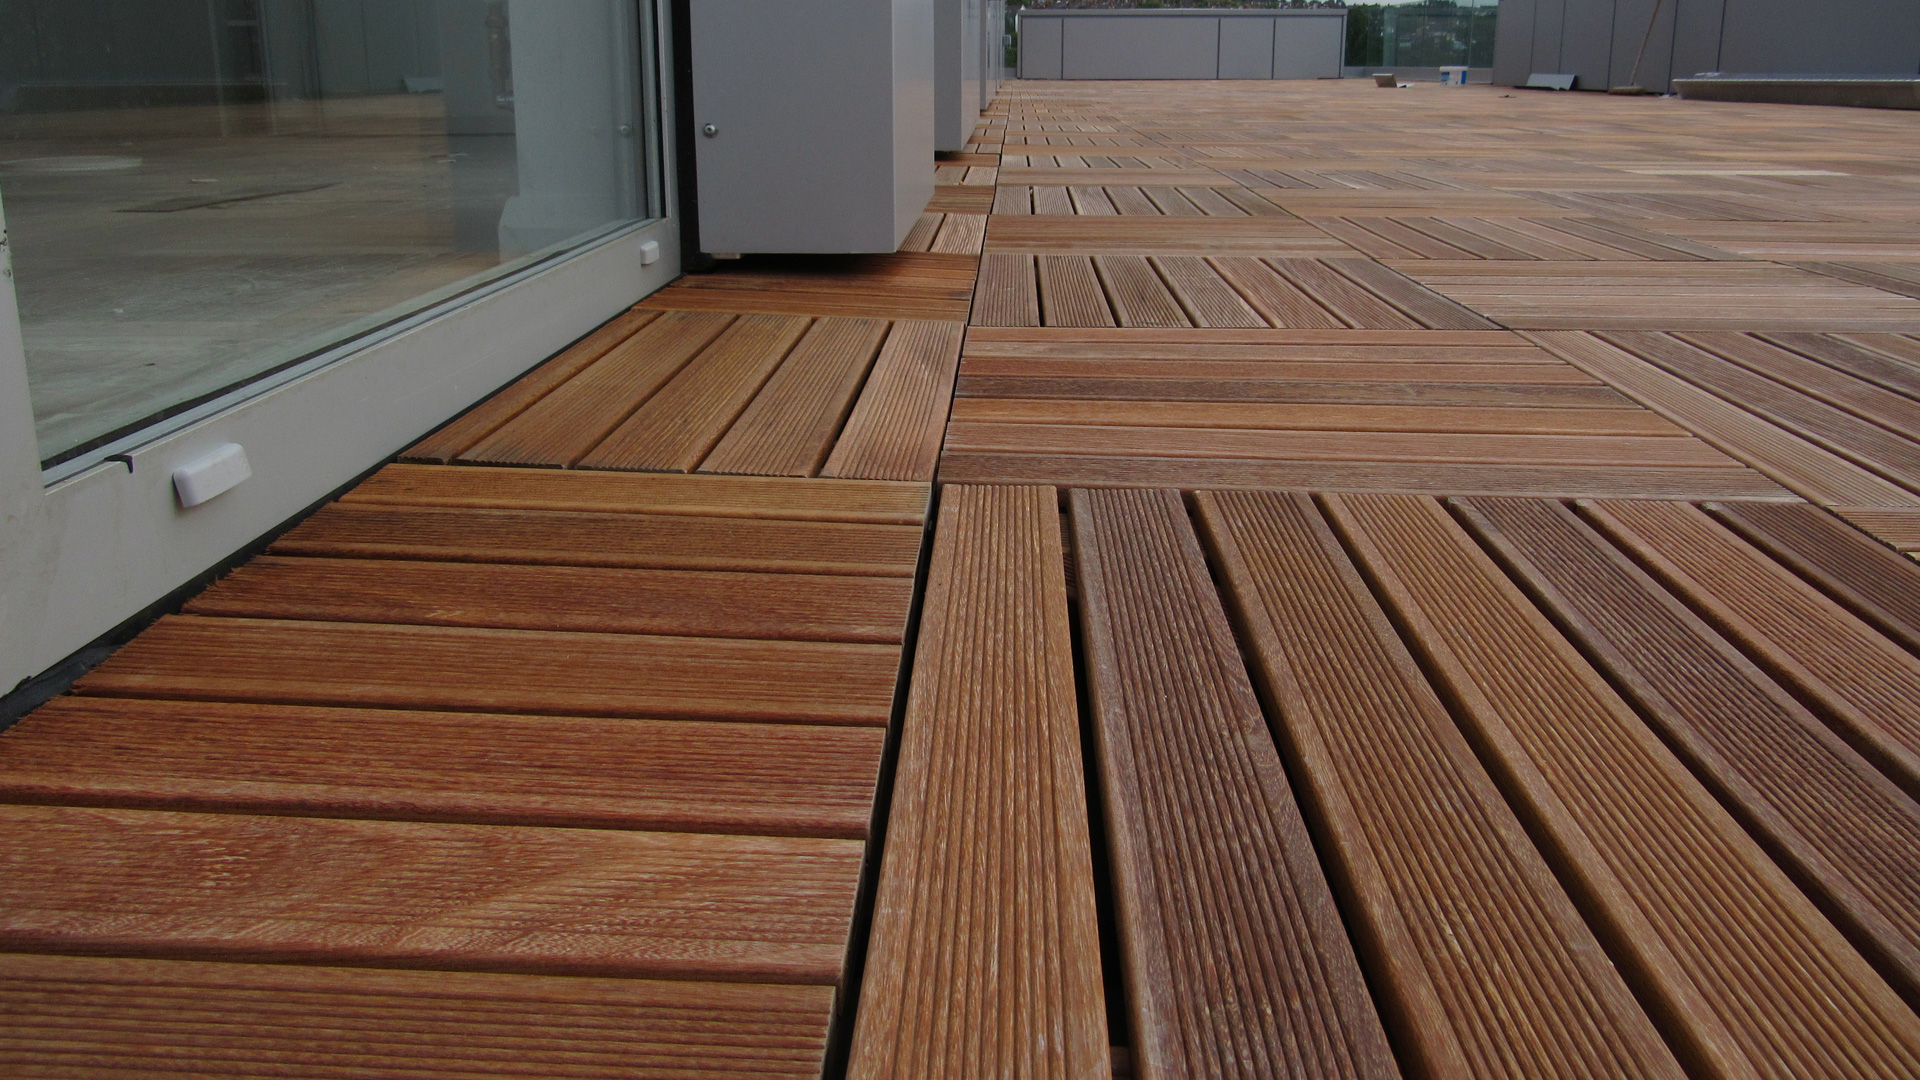
Alongside modern paving, materials such as advanced decking systems and porcelain surfaces are also becoming increasingly popular. Options like thermo bamboo decking, bamboo elegance decking, and porcelain decking systems provide complementary solutions for creating stylish and long-lasting outdoor spaces.
In this guide, we’ll explore what rectified tiles are, their key benefits, how to install them, and how to keep them looking their best.
What Are Rectified Tiles?
Rectified tiles, also known as dimensionally accurate tiles, are ceramic or porcelain tiles that have been mechanically cut after firing to ensure each tile is perfectly square with sharp, uniform edges.
Unlike standard tiles, which can vary slightly in size due to the firing process, rectified tiles are trimmed using specialist tools to achieve exact dimensions. This allows for minimal grout lines and a clean, modern finish that is ideal for contemporary outdoor design.
How Rectified Tiles Are Manufactured
The manufacturing process begins in the same way as traditional tiles, with raw materials shaped and fired in a kiln. Once cooled, rectified tiles undergo an additional cutting stage using diamond-tipped tools or laser technology.
This precision trimming ensures that every tile matches perfectly in size and shape, which is essential for achieving a seamless, high-end appearance.
The Main Benefits of Rectified Tiles
Rectified tiles are increasingly popular in landscaping and outdoor design due to their combination of visual appeal and practical performance.
1. Seamless Visual Appeal
Thanks to their sharp, uniform edges, rectified tiles can be installed with very narrow grout joints—sometimes as little as 1.5mm. This creates a near-continuous surface, giving outdoor areas a sleek and sophisticated finish.
2. Compatible with a Variety of Surfaces
Rectified tiles can often be installed over existing substrates such as concrete or prepared bases, making them an excellent choice for refurbishment projects.
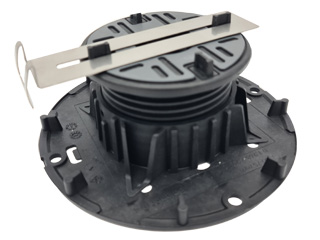
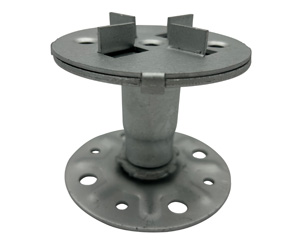
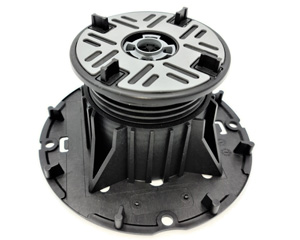
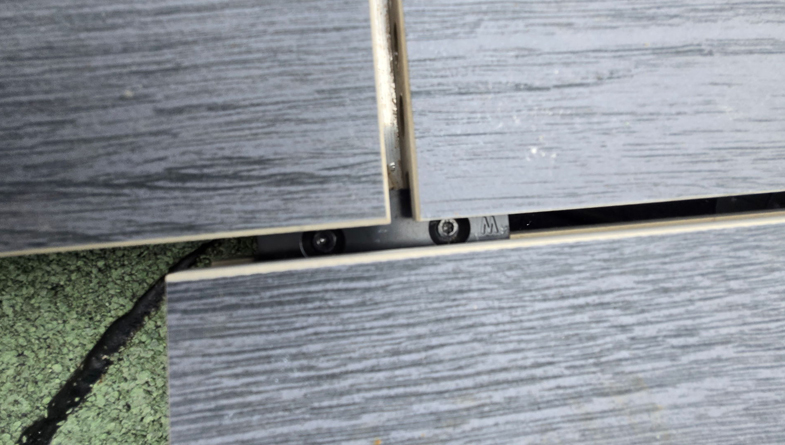
They also pair well with modern substructures and decking systems, including solutions like porcelain decking systems, which are designed to support precision paving installations.
3. Flexible Design Possibilities
With a wide range of colours, finishes, and sizes available, rectified tiles offer excellent design flexibility. They can be used to create clean, uniform spaces or combined to define zones within a garden or terrace.
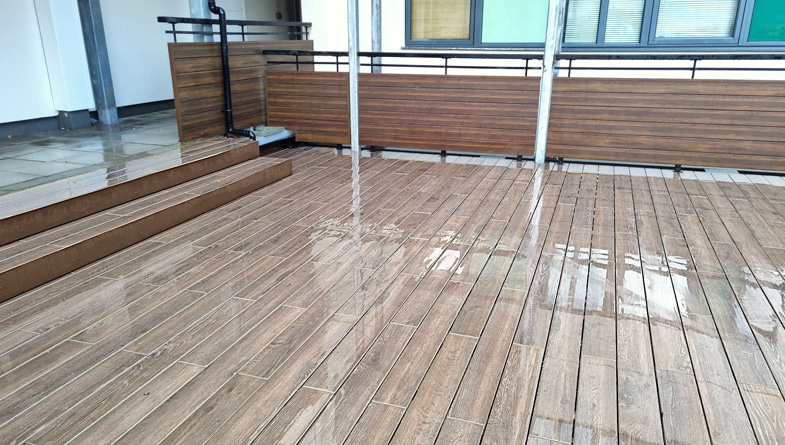
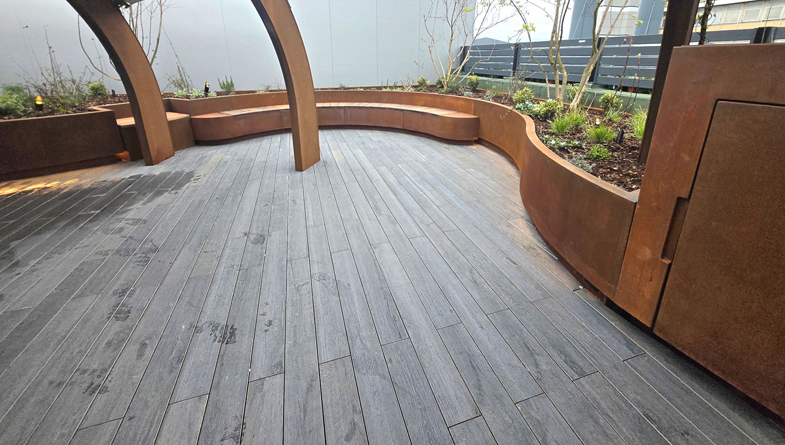
For those considering a mix of materials, combining tiles with decking options such as thermo bamboo decking or bamboo elegance decking can create a striking and modern outdoor layout.
4. Simple to Reconfigure
Rectified tiles are modular, meaning they can be lifted and repositioned if required. This makes it easier to refresh layouts or adapt spaces over time without a full redesign.
5. Low Maintenance
These tiles are easy to clean and maintain. Their smooth surface resists staining, while narrow grout joints reduce the likelihood of dirt build-up and weed growth.
Step-by-Step Guide to Laying Rectified Tiles
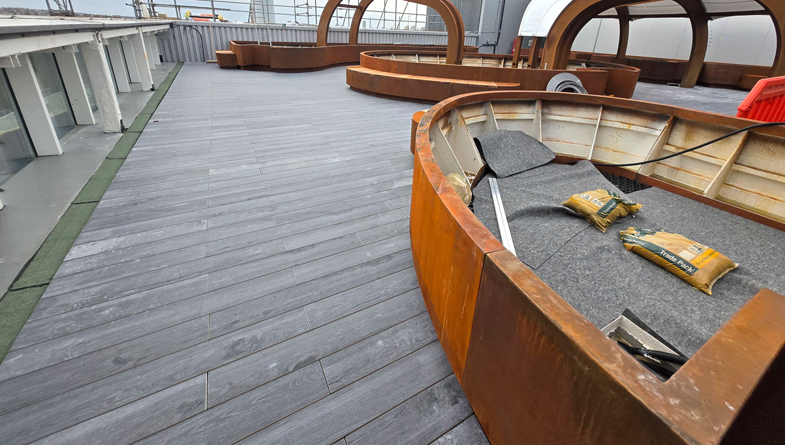
To achieve a professional finish, installation should be carried out carefully with attention to detail.
Step 1: Surface Preparation
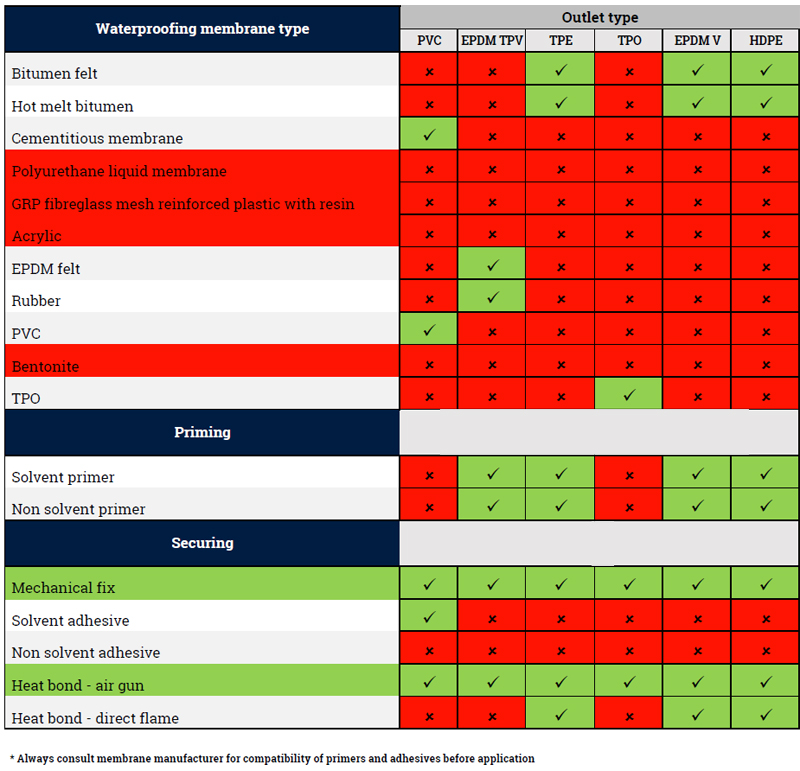
Ensure the base is level, stable, and free from debris. Any cracks or uneven areas should be repaired before installation. Waterproofing may also be beneficial in exposed environments.
Step 2: Plan Your Layout
Before fixing the tiles, plan the layout carefully. Dry-lay the tiles to visualise the final result and ensure a balanced design. This step is especially important when working with tight grout lines.
Step 3: Laying the Tiles
Use spacers to maintain consistent joints, typically around 1.5mm. Precision is key, as even small misalignments can affect the overall appearance.
When combined with modern support systems such as porcelain decking systems, installation can be both efficient and highly accurate.
How to Care for Rectified Tiles
Maintaining rectified tiles is simple and requires minimal effort:
- Routine Cleaning: Use a pH-neutral cleaner and a soft brush or mop
- Grout Maintenance: Occasionally clean grout lines to maintain a fresh appearance
- Seasonal Checks: Inspect for moss or algae in damp or shaded areas
With proper care, rectified tiles will retain their appearance for many years.
Are Rectified Tiles Right for Your Project?
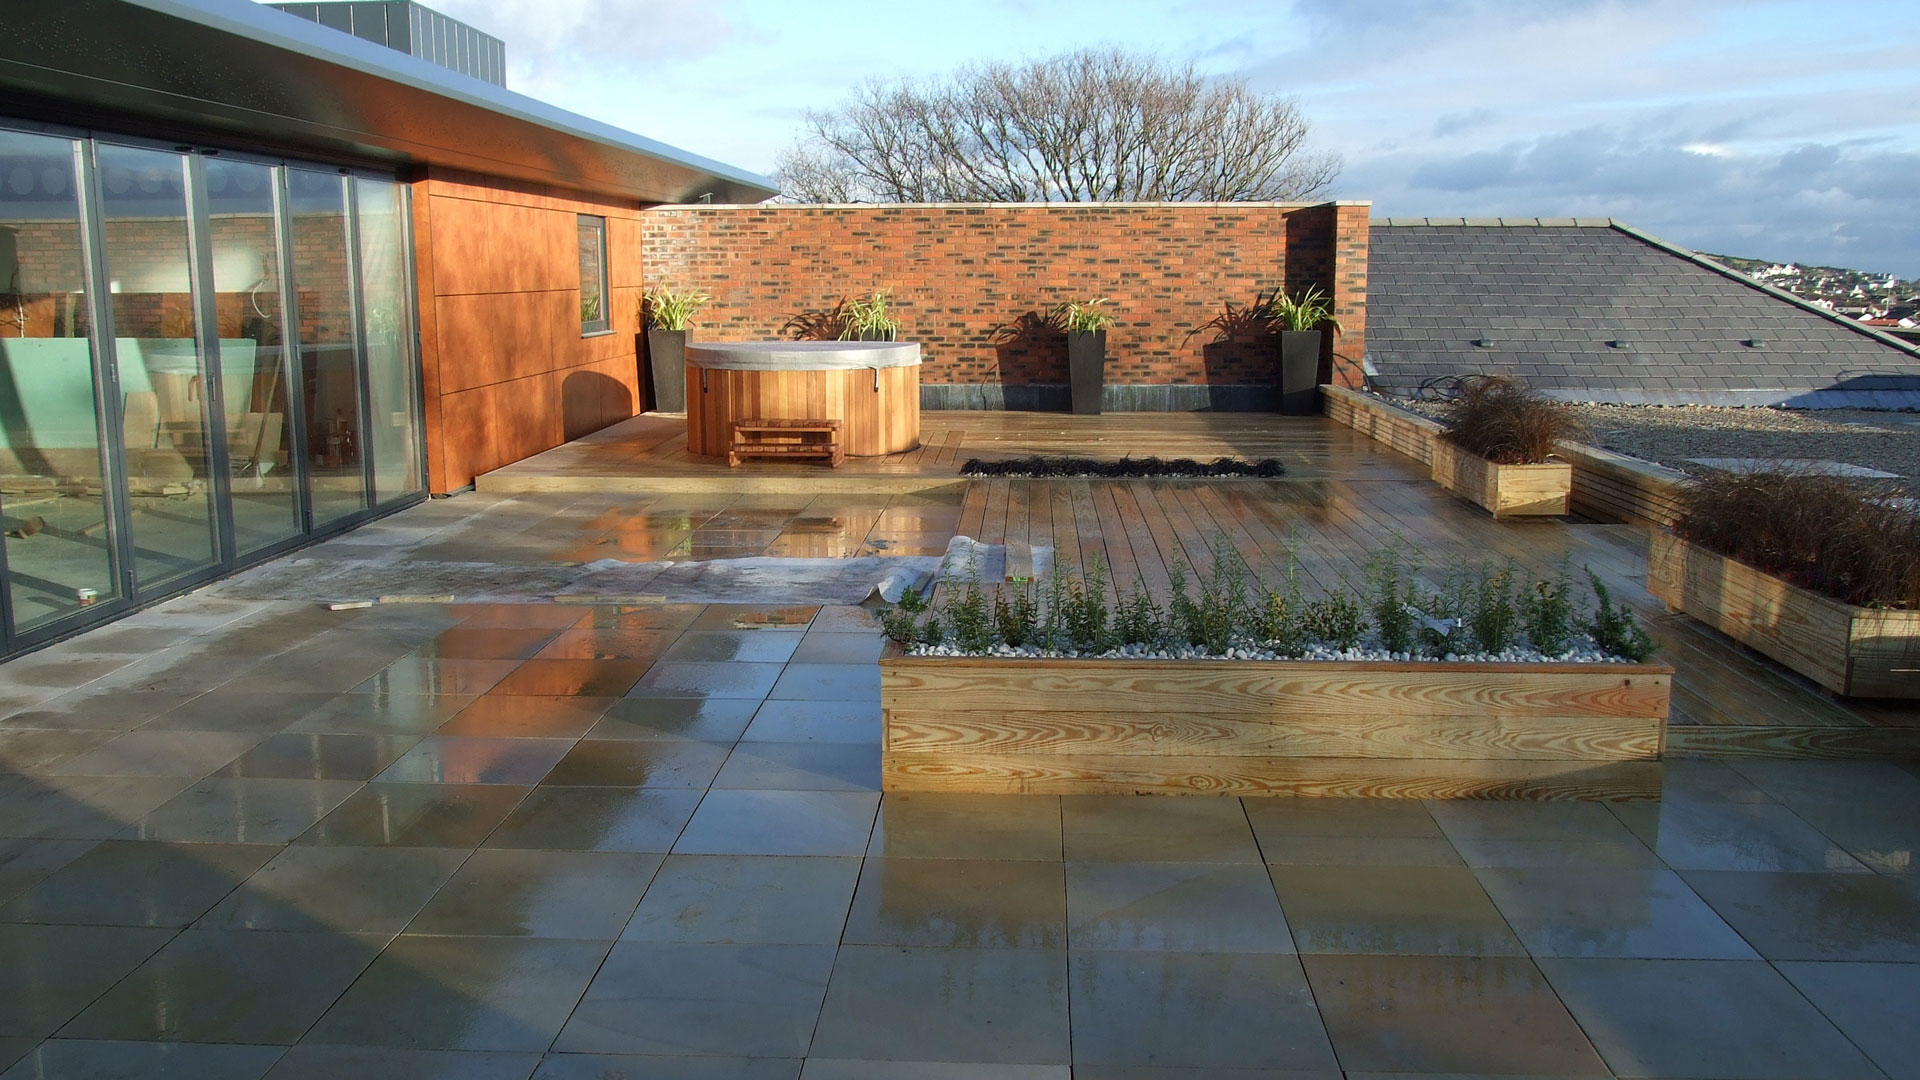
If you are looking for a modern, durable, and low-maintenance solution, rectified tiles are an excellent choice. Their clean lines and consistent sizing make them ideal for patios, balconies, terraces, and garden pathways.
They also work exceptionally well alongside contemporary materials such as thermo bamboo decking and bamboo elegance decking, offering flexibility in both design and functionality.
With their ability to withstand the UK climate while maintaining a premium finish, rectified tiles provide a long-term solution for enhancing outdoor spaces.
Speak to the Experts
If you are considering rectified tiles or exploring modern decking and paving solutions, Wallbarn can help you find the perfect system for your project.
Call +44 (0)20 8916 2222 or email sales@wallbarn.com to discuss your requirements and transform your outdoor space with confidence.