A step-by-step to unpacking, assembling and installing a green roof.
Delivery
The M-Trays® are delivered on pallets to the kerbside. It is the buyer’s responsibility to move the pallets from the kerb to the roof/podium.
Unpack immediately
Unpack the M-Trays® from the pallets immediately upon delivery to prevent the sedum plants being crushed. If left stacked for more than 24hrs sedum will start to decompose and die.
Handballing trays
The trays can be easily transported by hand to where they are being laid.
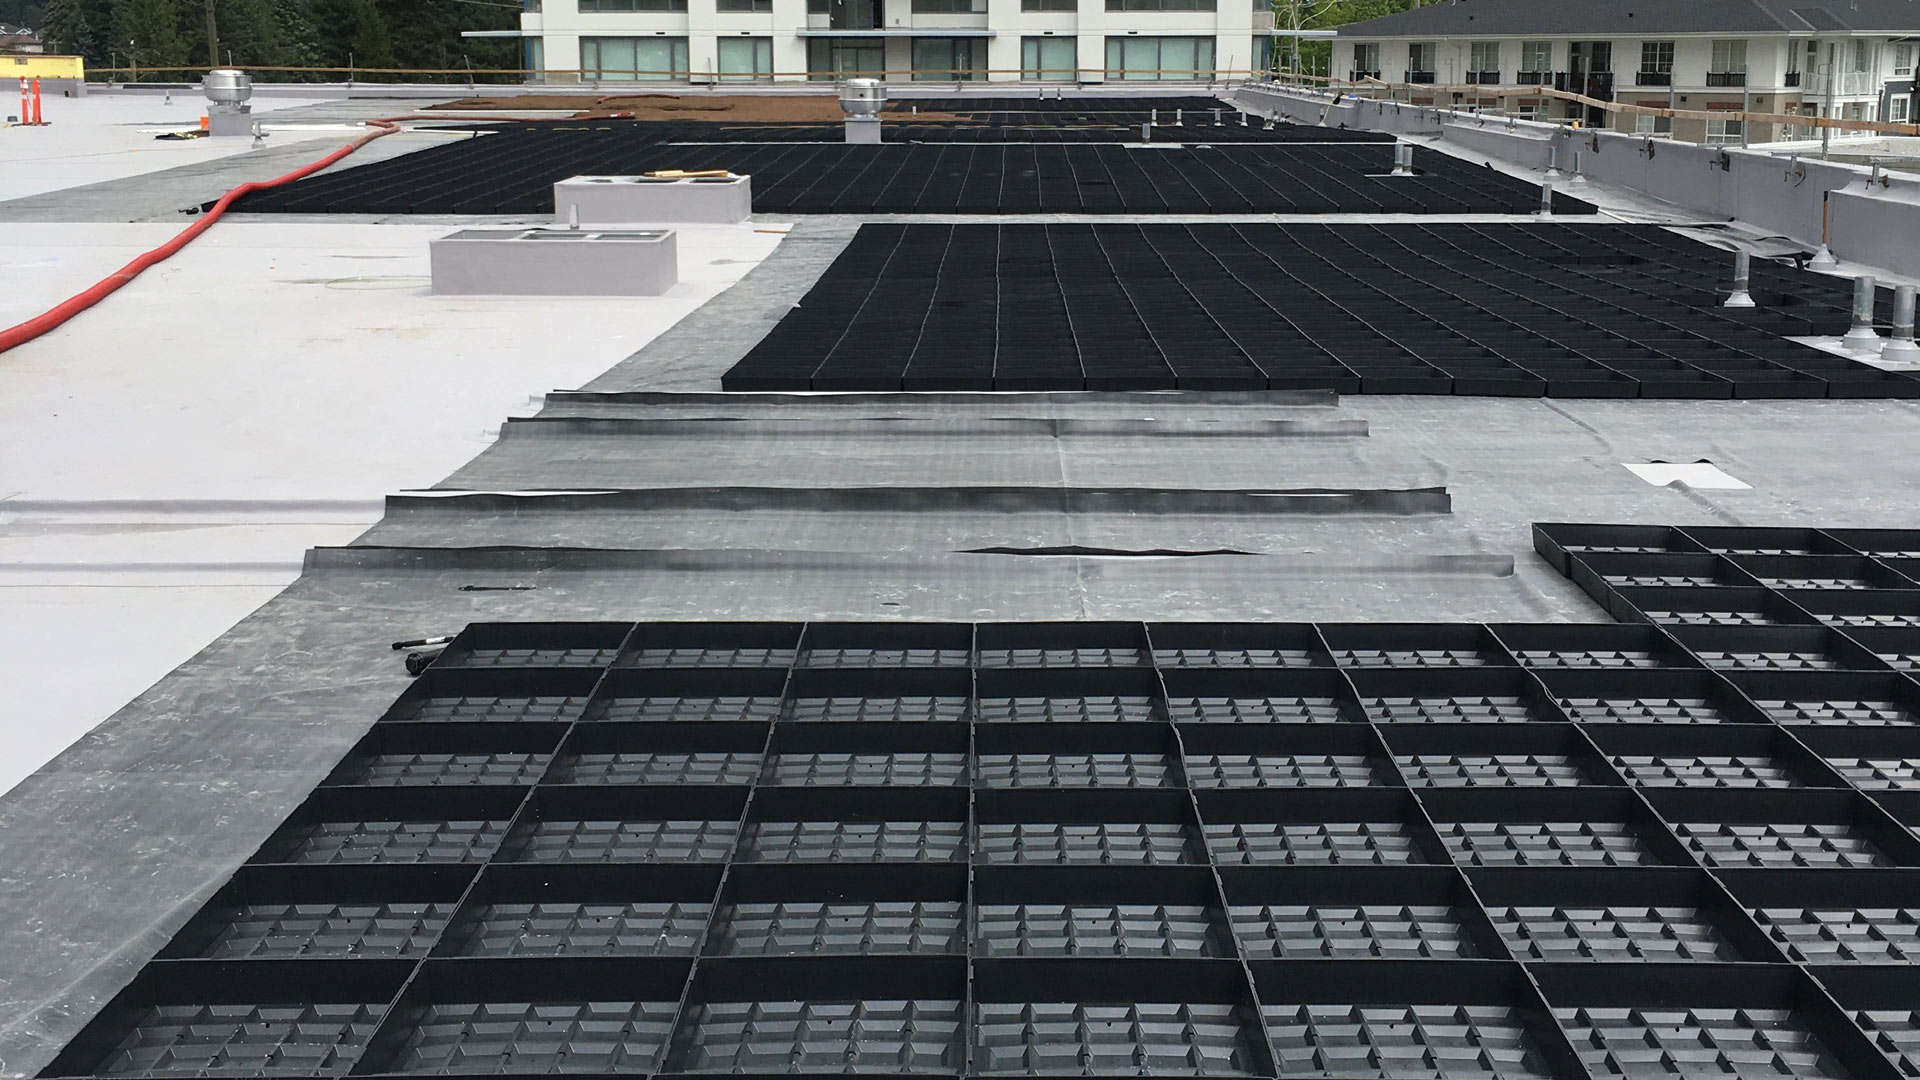
Prepare your roof
Ensure the roof membrane is properly protected and free from dirt and debris. Roll out the supplied geotextile fabric, ensuring an overlap of 20cm. This will act as a protective layer and a filter for drainage.
Install metal edging
Once the geotextile is laid, install your aluminium edging (optional). This is placed around the perimeter and loose laid into position. Do not mechanically fix the edging into the waterproofing membrane.
Start placing the trays
The trays are laid over the geotextile fabric and clicked together. They fit over the base of the edging bar.
Tray orientation
Each module has 2 x clips on the North side and the East side; and 2 x recesses on the South side and the West side.
Lay irrigation piping
If an irrigation system has been purchased, install as you lay the modules (see irrigation guide) by laying the pipes in between each tray at the base.
Aligning your trays
Repeat the process across the roof taking care to ensure the rows of M-Tray® are properly aligned.
Clipping trays together
Click each module into position ensuring clips are connected over the recess points.
Adapt the trays
For curves, details and end-of-runs, the M-Tray® modules can be easily adapted using a wood saw. Take care not to dislodge the substrate or vegetation too much.
Press open sides together
The open side(s) must always be pressed up to the side of the neighbouring M-Tray® in order to retain the substrate / growing medium.
Create a hard border
Fire Regulations state that M-Trays® must not be installed right up to buildings, walls, roof lights, hatches, mansafes, vents, drainage outlets, or other protruding objects.
Riverstone pebbles
A riverstone pebble border of at least 200mm width should be installed at these points (See GRO Code for guidance on building green roofs).
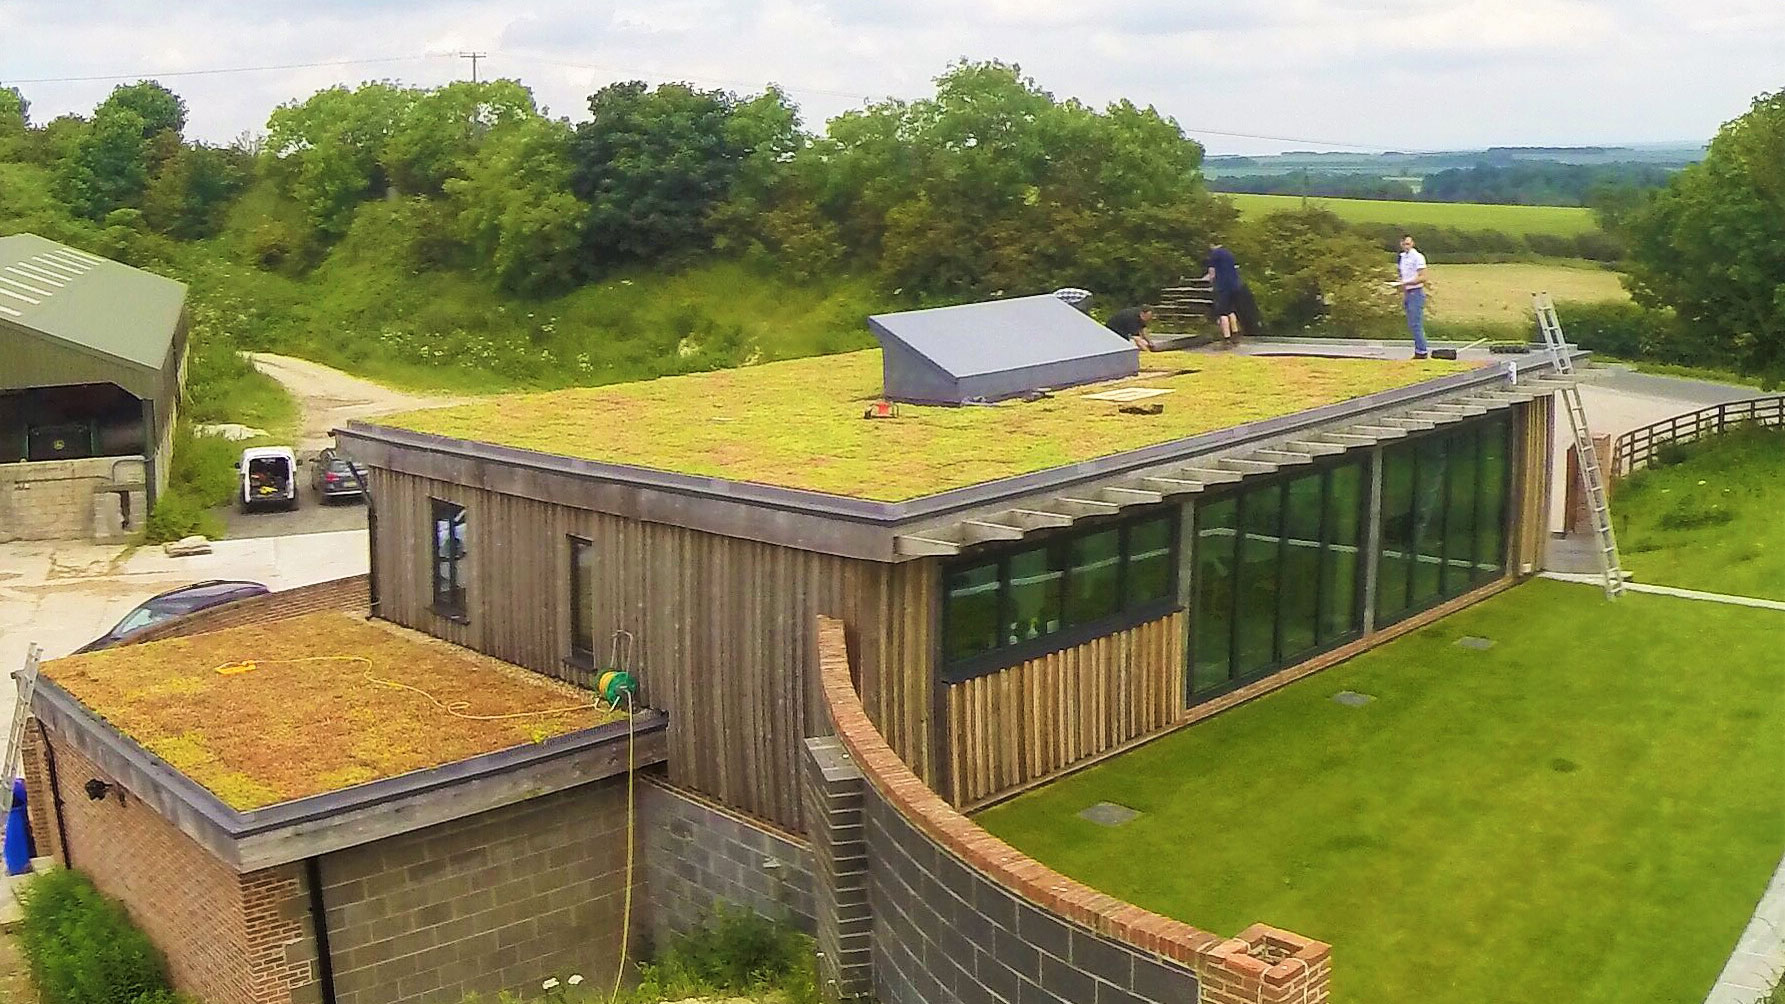
Irrigate once installed
After installing the modules, it is essential that you water them thoroughly until fully saturated.
If an irrigation system has not been installed, water by hand.
Fertilize the vegetation
It is recommended that you scatter slow-release fertilizer by hand across the whole roof at the rate of 25 grammes per m2 (a handful).